Setting up the Nola Viper Series
Connection
 The Viper I, Viper II and Viper Reference are
bi-wired speakers. For maximum performance we advise bi-wiring. You
can use our Blue Thunder speaker cable (see your dealer) or other
high quality cable. On a temporary basis, the enclosed jumpers can be
used for single wire speaker cables. On the rear of the loudspeaker,
place a jumper across the two red posts and another across the two
black posts. Connect the speaker cable from the amplifier to the
MID/HF posts, red to red and black to black.
The Viper I, Viper II and Viper Reference are
bi-wired speakers. For maximum performance we advise bi-wiring. You
can use our Blue Thunder speaker cable (see your dealer) or other
high quality cable. On a temporary basis, the enclosed jumpers can be
used for single wire speaker cables. On the rear of the loudspeaker,
place a jumper across the two red posts and another across the two
black posts. Connect the speaker cable from the amplifier to the
MID/HF posts, red to red and black to black.
Note: some electronic equipment reverses the absolute phase of the
signal. Check your owner's manuals. If this is the case, at the
amplifier end, connect the red end of the speaker cable to the black
(-) amplifier post and the black end of the speaker cable to red (+)
amplifier post.
The two longer spikes with attached nuts are fitted to the underside
front of the loudspeaker. The two short spikes without nuts are
attached to the underside rear of the speaker. This will provide the
proper tilt-back for the loudspeaker.
Viper Reference: Place the crossover box directly behind the
loudspeaker with the crossover terminals facing the speaker
terminals. Looking at the crossover box from the front, the LF
terminals are on the right (with Blue Thunder, the thicker cable from
the amplifier connects here). The MF/HF terminals are to the left
(with Blue Thunder, the thinner cable from the amplifier connects
here.) The leads coming from the crossover box now connect in the same
order coming out of the box to the 6 speaker terminals. That is, from
the front: the rightmost is LF- (black) then LF+(red) then Mid-
(black) then Mid+ (red) then HF- (black) then HF+ (red) going from
right to left.
Break-In
The Nola Viper loudspeakers require a break-in time of at least 100
hours for best performance. There will be a significant difference in
the first 24 hours, with the sound becoming easier and more open. Use
an amplifier of 100 watts or more at moderately loud levels with a
dynamic movie sound track (such as Patriot Games) for fastest
break-in. Use of low power amplifiers, while fine for listening, will
generally extend the break-in time.
Placement
For most accurate sound staging, the loudspeakers should be placed
firing straight out (no toe-in) at up to 1/3 into the room from the
front wall. Experiment with placement to optimize the performance in
your room. As you bring the speaker closer to the front wall (behind
the speaker), bass will increase but depth and transparency will
decrease. Allow as much distance as possible from the side
walls. Often best performance is with the speakers along the long wall
of the room. Due to the rear radiation of the dipole midrange and
tweeter, a small amount of damping may be required on the wall behind
the speakers. This could take the form of a wall hanging or of light
thin drapes covering part of the wall. Too much damping will result in
a dead, lifeless sound and too little will be bright and harsh. The
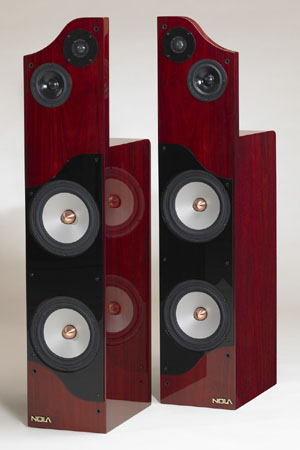
loudspeakers should be placed so that the tweeters are on the inside
of the pair.
Note: for maximum openness and transparency, remove both front and
rear grilles.